Saturday, February 29, 2020

USE IT UP!

I've heard this soooo many times we have used something once or twice and then we have leftovers and sometimes no idea what to do and want to do it!

I had an old Miss Empire range with papers and a full packet of collectables


I had made card for a call and that is it! Well re entry they went, I made 19 cards, which drove my husband mad cos I was soo close to 20. Need just one more!! Lol with the call  it was 20, but I was soo over it! 

Anyway, it is all paper and collectables with a touch of Walnut stain ink for the edges or Versafine onyx black for sentiments. Hope you enjoy,


Saturday, February 22, 2020

Tweetie

Today’s card is for a friend who actually has a little tweetie tattoo.

She’s gone thru abit of a time of late and I haven’t been able to be around as much as I would like.


I was given lots of bits and piece from someone and in that package was a tweetie.


It is a pretty straight forward card.

I used nesting circles to make the background n sponged a little of walnut stain distress inks to give it some depth.

I used foam mount of different dimensions to add the tunnel effect n glued n mounted tweetie up.

The sentiment was from Taylored Expressions Simple Strips.

Very basic but hopefully you like it!

Thanks for stopping in.

Sunday, February 16, 2020

Uniqolour Brush Tip Markers Review

Hello Everyone,

Welcome back to my blog.

Today I have a review of the Uniquely Creative Real Brush Markers.

They come either in a kit, I believe over 2 kits or you can buy them together. There is 27 brush tip markers with a water brush included. One tray seems to be abit more bright and the other more of a regal shade but even some on that tray are nice and vibrant!

Disclaimer:

I bought these, I am not that good, that a company would send me products and even if they did it would be my honest review.

I decided to swatch them all out as I didn't really have enough time to make a project and then in the end I waffled on for 26 minutes in the video. Still working out the ins and outs of getting videos off the phone. So we will include that later!

This piece of watercolour cardstock is roughly 18cm x 11cm. So some strange reason I made each rectangle 3/4 of an inch wide and 3cm deep! But you could just do 2 x 3cm or 3/4 x 1 1/4”. You do you!

My first look at the Markers are:


I think I like them! All the colours were true to life. That is some markers, for example red change to a real pink when you applied water. The Uniqolour stayed true.

Lovely brush tip which I love and the colours  were lovely.

I do have one thing I didn’t like, they don’t have a name on the markers or a number! That will bug me but other than that I think I will like them!

I think I am going to have some fun with these. I am really starting to love Uniquely Creative.

To order Uniquely Creative Markers please contact Lesley at Little Bits

You can watch the video here!

Thank you for stopping in and I will see you next time.


Thursday, February 13, 2020

Friendship Card Hop


I'm sooo excited to be involved in this card hop. I didn't think I would be able to be involved with my studio being renovated and then with my children, and I also work in a school, went back to school.

Courtney Keeber has organised a blog hop and this is open to Youtube or blog. I was going to do a video and blog together but time got away from me then I first lost footage of making this card.

You can follow along and visit each person and share the love we have for card making. The next link will be below.

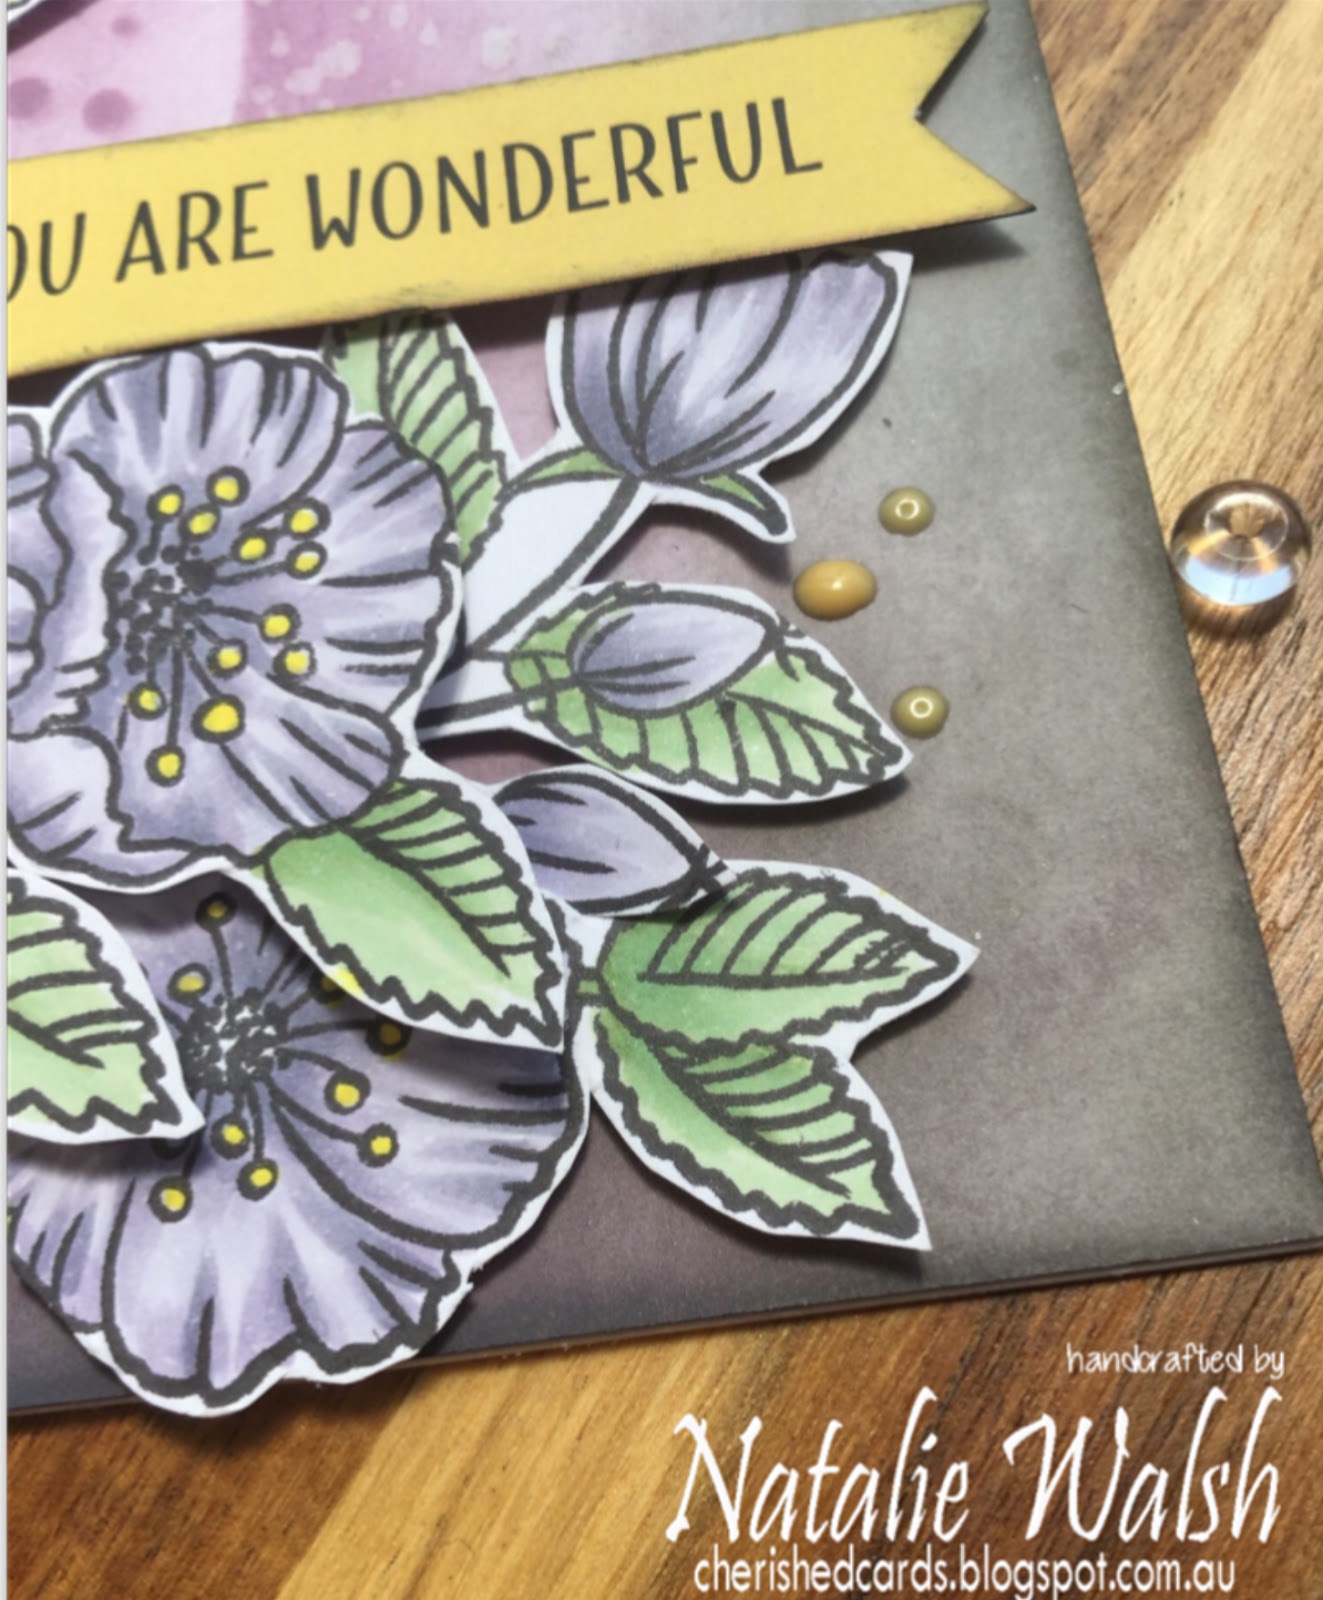
My card today was from September 2019 Uniquely Creative Positivity Mini Kit

As I said I lost footage and was going to redo the card but ran out of time.


Image result for flowing dots stencil 
In the kit they have the Flowing Dots stencil and I used this, first to add the dots and colour on the left of the panel. Once this was done I removed the stencil and, honestly I didn't like it! 
I am a lazy crafter, I don't do over ( hence I ran out of time to redo the card... cause I didn't want to redo a perfectly good card!) 
I used Dusty Concord and then went around the edges with Black Soot. I spritz it with a little bit of water for texture.

Image result for positivity stamp


I stamped out both of the images included in the set, as I wanted to layer it up with foam dots and glue. You do not get the dies in this kit but it is super easy to cut it out. I was also abit sneaky and cut the large unopened flower off the image and tucked it in behind and the image and you have no idea, except that I just told you! Lol

Copics Used:
Flowers V28, 25, 22
Leaves YG63, G24, G21
Flower centre's Y08

The sentiment is included in the kit and you just need to cut out the sentiment you want!

Lastly I added a couple of dots of Nuvo Crystal Drops Sugared Almonds.

Please hop over to  Boryana Yankova and check out her card HERE !


Thank you for stopping by.


Saturday, February 8, 2020

Another early Christmas

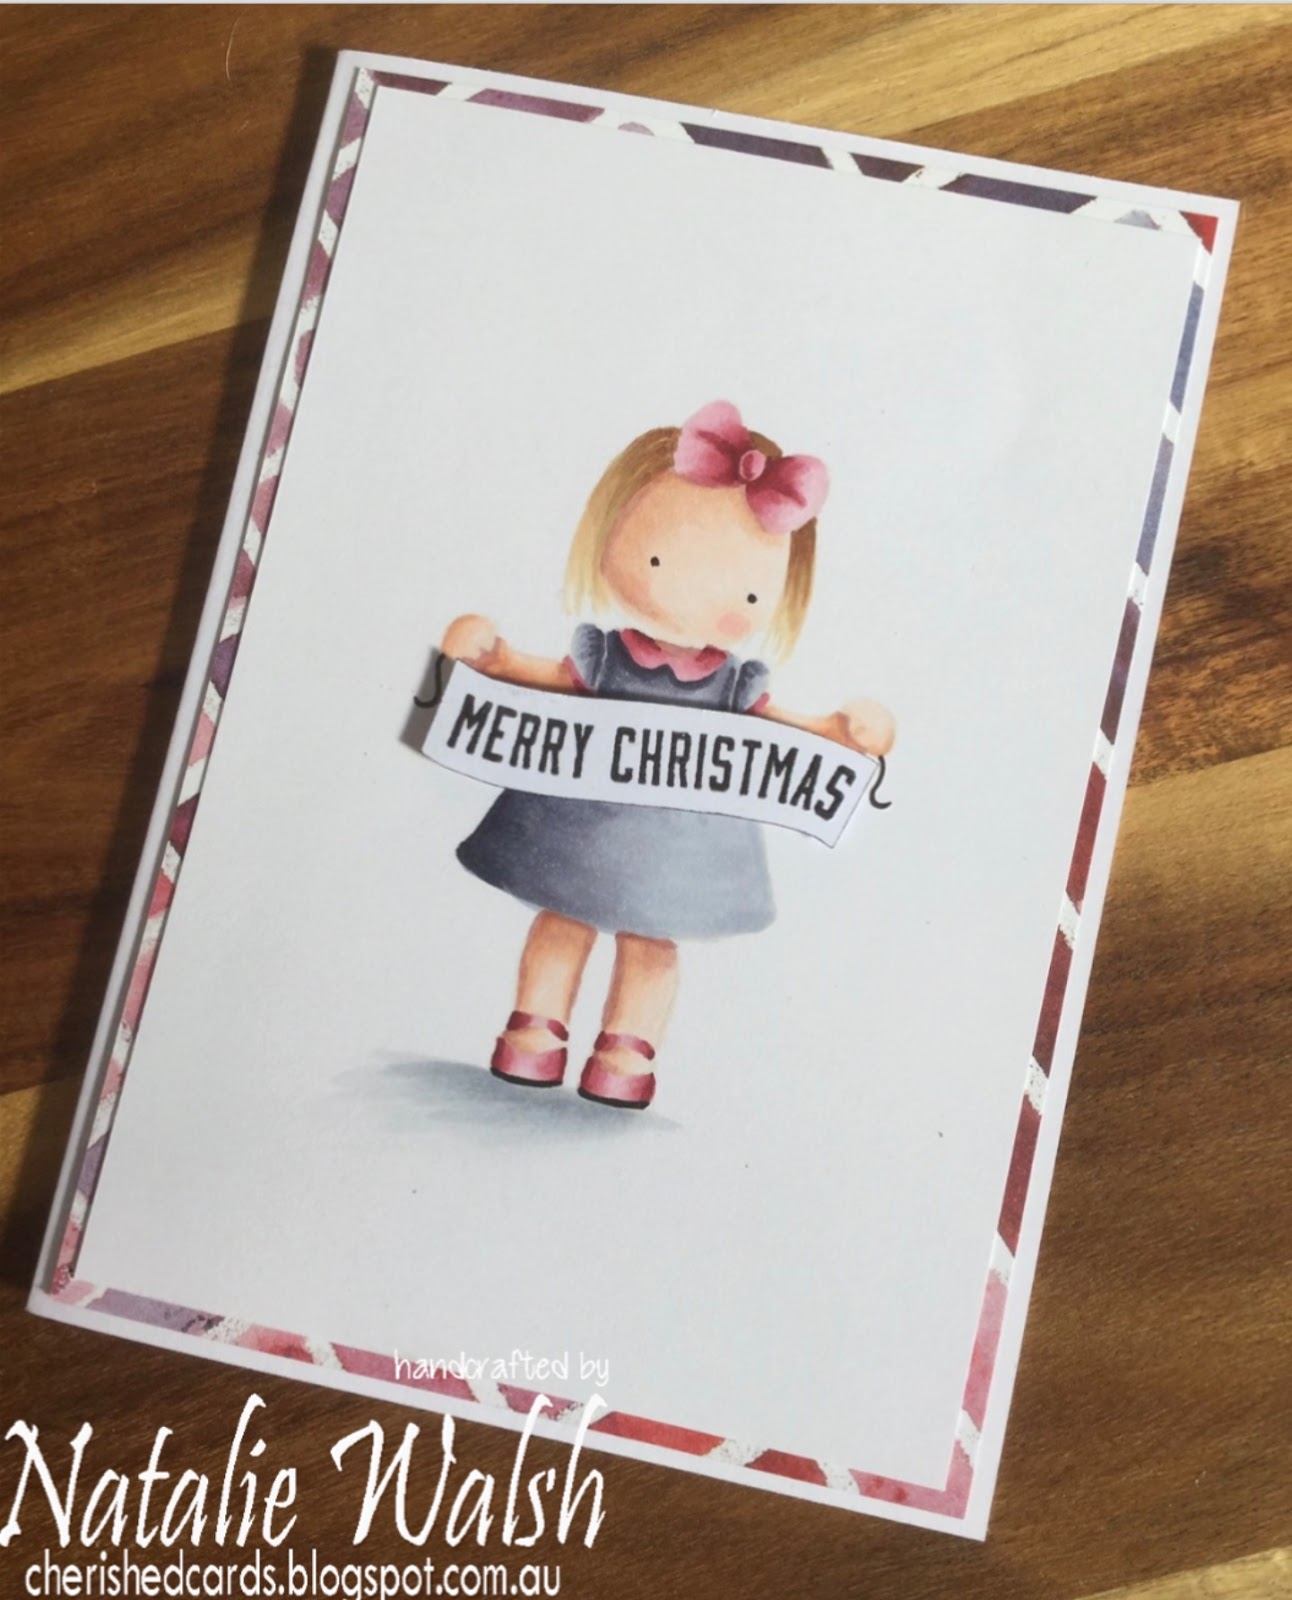
I coloured this image during the 30day coloring challenge but I wanted to show you what I did with it. Super simple card.


I just found some paper from Stampin Up that matched the colours. It is an old paper series called "See a Silhouette"

The main panel is cut to 14.1cm x 9.7cm
The designer series paper is cut to 14.4cm x 10

I decided there was no way I was going to try to colour the banner so I found a stamp from Kaisercraft called Frosted. Trimmed it up and it fitted perfectly! I used a distress marker in Black Soot to go around the edges to help it blend it well.
Image result for kaisercraft frosted stamp

Copics Used:
Hair: E57, 55, 53
Skin: E04, 11, 00, 000, R20
Ground: C4, 2, 0
Dress: BV29, 25, 23, 20
Trim and Shoes: R89, 85, 83, 81

Thank you for stopping by.

Saturday, January 18, 2020

Is it Christmas already??!

Quick post today. (Well it was going to be)

Before my little craft world fell apart I stamped out a few images.

One was this

tree 


The image is a Stampendous Christmas Tree It is an older stamp, sorry about that!

I stamped it out in Momento Tuxedo Black and the Flourish was stamped with Couture Creation Art Deco Pearl Inks,  Olive Green. I masked parts of the tree roughly.

I tried out some different combinations. I’m quite happy with my experiment.
Copics Used:
Red baubles R35, R46, R59
Purple Baubles V22, V25, V28
Red Bauble tree G82, G94, G99
Purple Bauble tree G40, G43, G46

Craft room Reno

It’s done, oh my gosh! It’s finished

Dramas with floors, Australian Fires which made us leave for a holiday slightly early (long story and 2 people that had no idea what on earth they were doing!! Lol

First old

Curtains and carpet about to change. First big job was the clear of course! Carpet is about 17 years old! It had done its time. It is currently in the garage waiting  another diy,

The room got another coat of paint. The colour was pretty much the same but now we have no dents from the boys!! I didn’t realise how filthy the curtains were until we took them down! Ugh

Dramas with the floors was that the company failed to supply Bunnings (which I have since heard that it is common) then fires broke out across NSW and VIC. Then they lost the truck, they knew it was in Vic but couldn’t tell us where.  Bit by bit we got some wood. My husband and father took half of their floor stock then the rest. The woman at Bunnings knew we needed more so she went to another store and brought it back with her!! Can’t be upset at that! The colour is New Walnut.


The new floor.

These were taken as things started coming back in. My map drawer was the hardest to judge where it had to go and we pretty much got it spot on!

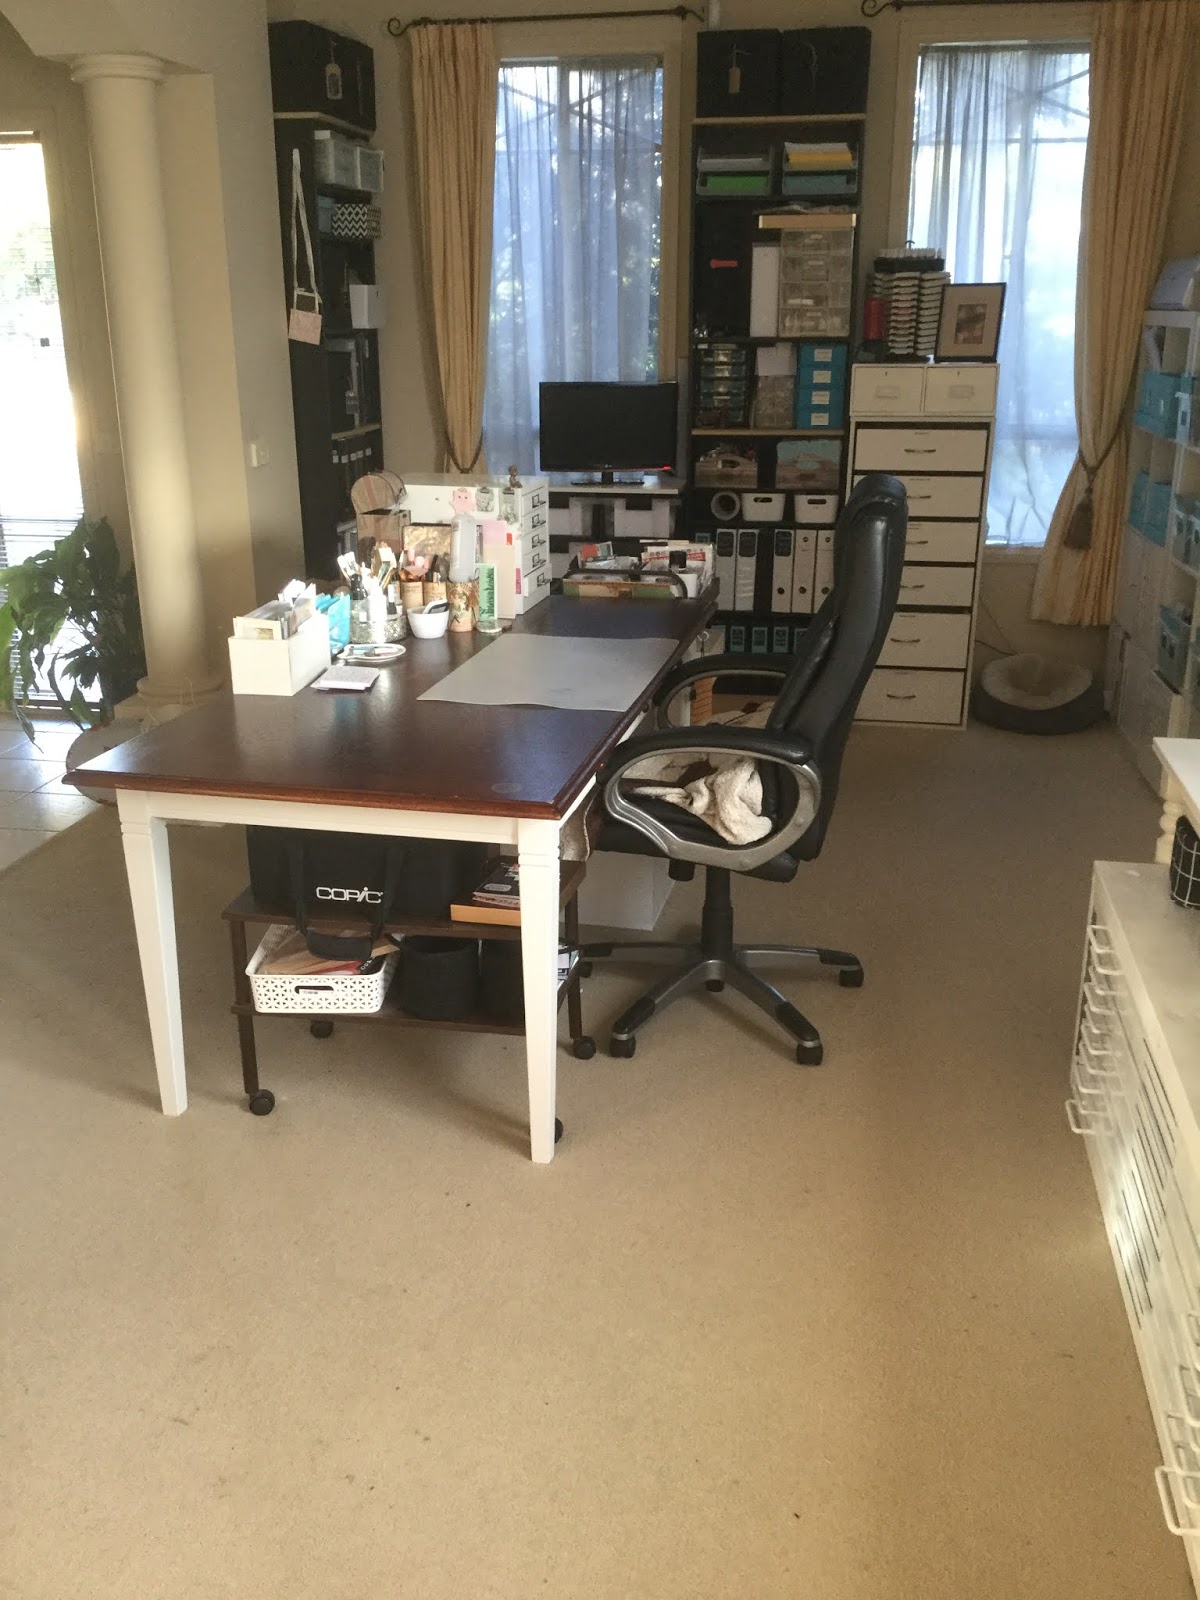
 Ready to be sorted n decluttered. It’s early in the morning in this photo but I’m very happy.

Today it looks like this! It is usually clean as it is right at my front door, so first thing you see! It does become the topic of conversation when people come by! 

I bought a floor protector but I wasn’t happy with it so it went on my desk to protect it lovely and clear, works a treat, the old small one went to the video table and I got a good floor protector from Costco!


So get ready, I’m now finished off little jobs and I’m all set up and ready to go.

Thanks for stopping by.

Saturday, January 11, 2020

MIAI know

Hello Everyone,

I know I've been missing in action. I have good reason, apart from Christmas and busy with all of that fun.

This is the current state of my craftroom...
Before....

It is going to look amazeballs.

Painting is all done and tomorrow the wood will arrive. Big delay because hubby didn't think there would be a delay with Christmas. :D

But it doesn't matter we have been super busy getting things organised and just other holiday things. We also painted a few areas in the house that had been damaged (with 3 boys.. it happens) and a leaking shower.

Curtains are gone and blinds will be going up.

I have stamped out a few images before the hubby and father removed it all.

Just know now... they are christmas images. Don't judge me! lol

Take care and stay safe.