Monday, March 30, 2020

Craftroom Tour Jan 2020

Hello Everyone,

Today I have two things to share with you.

Super quick on my you tube channel here is a Part 1 video for my craft-room tour. It's in 2 parts because I like to look thru peoples drawers so that's what I did. Part 2 can be found here.

Second, is some cards I did for The 30 day Colouring Challenge on Instagram.

I have been playing with Alcohol Inks lately. I decided to check out the browns.


I used Couture Creations Butterscotch, Mushroom and Espresso
  Gold Mixative

I used Hello Peek s boo die from Paperrose and also Stitched Tags.


I used a technique of partially die cutting to cut the "hello" out of the tag.

Next card is a card that took me a few days. It is from a magazine freebie stamp set.


There is quite a few Copics in this one.
Skin : E04, E11, E00, E000
V28, V25, V22
 Beards C4, C2, C0
Grass G94, G21
Gnome Green G24, G21, G40
Windows and roof Y17, YR21, Y32 T2
Sky BG000
Wood E39, E37, E35, E33
Mushroom W3, W1, W00

I coloured these with the Uniquely Creative Uniqolour pens. I labeled each one starting left to right when you first open the packet. I can tell you the numbers I used but, of course this is my labeling not theirs.
Blues I used 5, 22, 20 but it is just a range of blues
Centres 14, 12 (browns)
Greens 3, 4
Splattered with some black paint.
Lucky last for the day:

I coloured this one quite a while ago but never finished her off.

I masked out the dress and using a stencil by Couture Creation I applied texture gel and then sprinkled glitter over the top and graduated it up the dress. The stamp is an older Paper Rose stamp set but you can use this for any pretty dress girl.

Copics used
Skin E04, E11, E00, E000
Lips R20
Hair E37, E35, E33, E31
Ground W3, W1, W00
sky BG0000
Trim T3, YR21, YR01

I hope you have enjoyed

Sunflower Love

Good Morning and welcome back.

Today I am using the Woodware Tatty Daisies stamp set.

We are going to alter this set and make them into Sunflowers

I have not used Copic Xpress-it blending card as I wanted a more creamy look to my card. It isn't easy to get a good blend but you work on it and it comes together really good. I also wasn't too fussed about keeping the lines in my image. So depending on the look you want it is achievable on non Copic blending card. Should you do it all the time no as there is a reason you should use the smooth cardstock but the odd change is okay. That is my opinion only.


Copics I used were:
Y38, Y08, Y13, Y11
G28, YG67, G24, YG11
E53, E55, E57


I matted the image on Daffodil Delight and some black cardstock.

The sentiment is from Taylored Expression called Simple Strips, lots of fun sentiments and they have a few sets to choose from. Christmas, and Friendship to name some, there is always more coming out. This is a general all rounder set.

I think that is all I have to share today.

Stay safe and take care of yourself.


Saturday, March 21, 2020

Good Luck

Welcome back to my blog.

Today have a card using image's  I coloured during the The Daily Marker 30 day challenge.

To put them all together I decided to use a die from Uniquely Creative called Oriental Screen to make a window. I also used their Lucky You stamp set

Here's the card

I just love this card. You know when things just fall into place.

I cut the frame out of Basic Grey cardstock from Stampin Up using Uniquely Creative Cross Stitch Frames. I cut the frame out twice and white and then again in the grey so I would have the white background to inlay the grey with. I placed the Screen behind the frame which held everything together.

I coloured them with Copics, I know shock horror! I also tried to use some of the same colours in each image to connect them. My Instagram image of the first girl has changed slightly, I went to bed and woke up and realised what needed to be done to fix the hair. Turn over to my Instagram to see the original image. I think you will agree.


Copics Used 
 Pink RV69, RV29, RV14, RV13, RV10
Black 110, C9, C7, C5
Green G29, G46, G43
Yellow Y17, Y15, Y13
Red R39, R37, R35
Ground C3, C1, C00
Skin E53, E51, E50, R20

I think traditionally Dragons are Chinese and the girls are Japanese.... but creative license! lol
  Dragons in China, from pictures I have googled, are usually bright and colourful and I knew it was going behind the screen. 

I did do some image surgery on him so we could see him more, to a point, I cut his tail off and moved it! :) Really you still can't see him too much but it is more than it was!!

Lastly I used some Distress Oxide Pumice Stone to add a little something to the background.

I do hope you like it. Thank you for stopping by.

Saturday, February 29, 2020

USE IT UP!

I've heard this soooo many times we have used something once or twice and then we have leftovers and sometimes no idea what to do and want to do it!

I had an old Miss Empire range with papers and a full packet of collectables


I had made card for a call and that is it! Well re entry they went, I made 19 cards, which drove my husband mad cos I was soo close to 20. Need just one more!! Lol with the call  it was 20, but I was soo over it! 

Anyway, it is all paper and collectables with a touch of Walnut stain ink for the edges or Versafine onyx black for sentiments. Hope you enjoy,


Saturday, February 22, 2020

Tweetie

Today’s card is for a friend who actually has a little tweetie tattoo.

She’s gone thru abit of a time of late and I haven’t been able to be around as much as I would like.


I was given lots of bits and piece from someone and in that package was a tweetie.


It is a pretty straight forward card.

I used nesting circles to make the background n sponged a little of walnut stain distress inks to give it some depth.

I used foam mount of different dimensions to add the tunnel effect n glued n mounted tweetie up.

The sentiment was from Taylored Expressions Simple Strips.

Very basic but hopefully you like it!

Thanks for stopping in.

Sunday, February 16, 2020

Uniqolour Brush Tip Markers Review

Hello Everyone,

Welcome back to my blog.

Today I have a review of the Uniquely Creative Real Brush Markers.

They come either in a kit, I believe over 2 kits or you can buy them together. There is 27 brush tip markers with a water brush included. One tray seems to be abit more bright and the other more of a regal shade but even some on that tray are nice and vibrant!

Disclaimer:

I bought these, I am not that good, that a company would send me products and even if they did it would be my honest review.

I decided to swatch them all out as I didn't really have enough time to make a project and then in the end I waffled on for 26 minutes in the video. Still working out the ins and outs of getting videos off the phone. So we will include that later!

This piece of watercolour cardstock is roughly 18cm x 11cm. So some strange reason I made each rectangle 3/4 of an inch wide and 3cm deep! But you could just do 2 x 3cm or 3/4 x 1 1/4”. You do you!

My first look at the Markers are:


I think I like them! All the colours were true to life. That is some markers, for example red change to a real pink when you applied water. The Uniqolour stayed true.

Lovely brush tip which I love and the colours  were lovely.

I do have one thing I didn’t like, they don’t have a name on the markers or a number! That will bug me but other than that I think I will like them!

I think I am going to have some fun with these. I am really starting to love Uniquely Creative.

To order Uniquely Creative Markers please contact Lesley at Little Bits

You can watch the video here!

Thank you for stopping in and I will see you next time.


Thursday, February 13, 2020

Friendship Card Hop


I'm sooo excited to be involved in this card hop. I didn't think I would be able to be involved with my studio being renovated and then with my children, and I also work in a school, went back to school.
Courtney Keeber has organised a blog hop and this is open to Youtube or blog. I was going to do a video and blog together but time got away from me then I first lost footage of making this card.

You can follow along and visit each person and share the love we have for card making. The next link will be below.

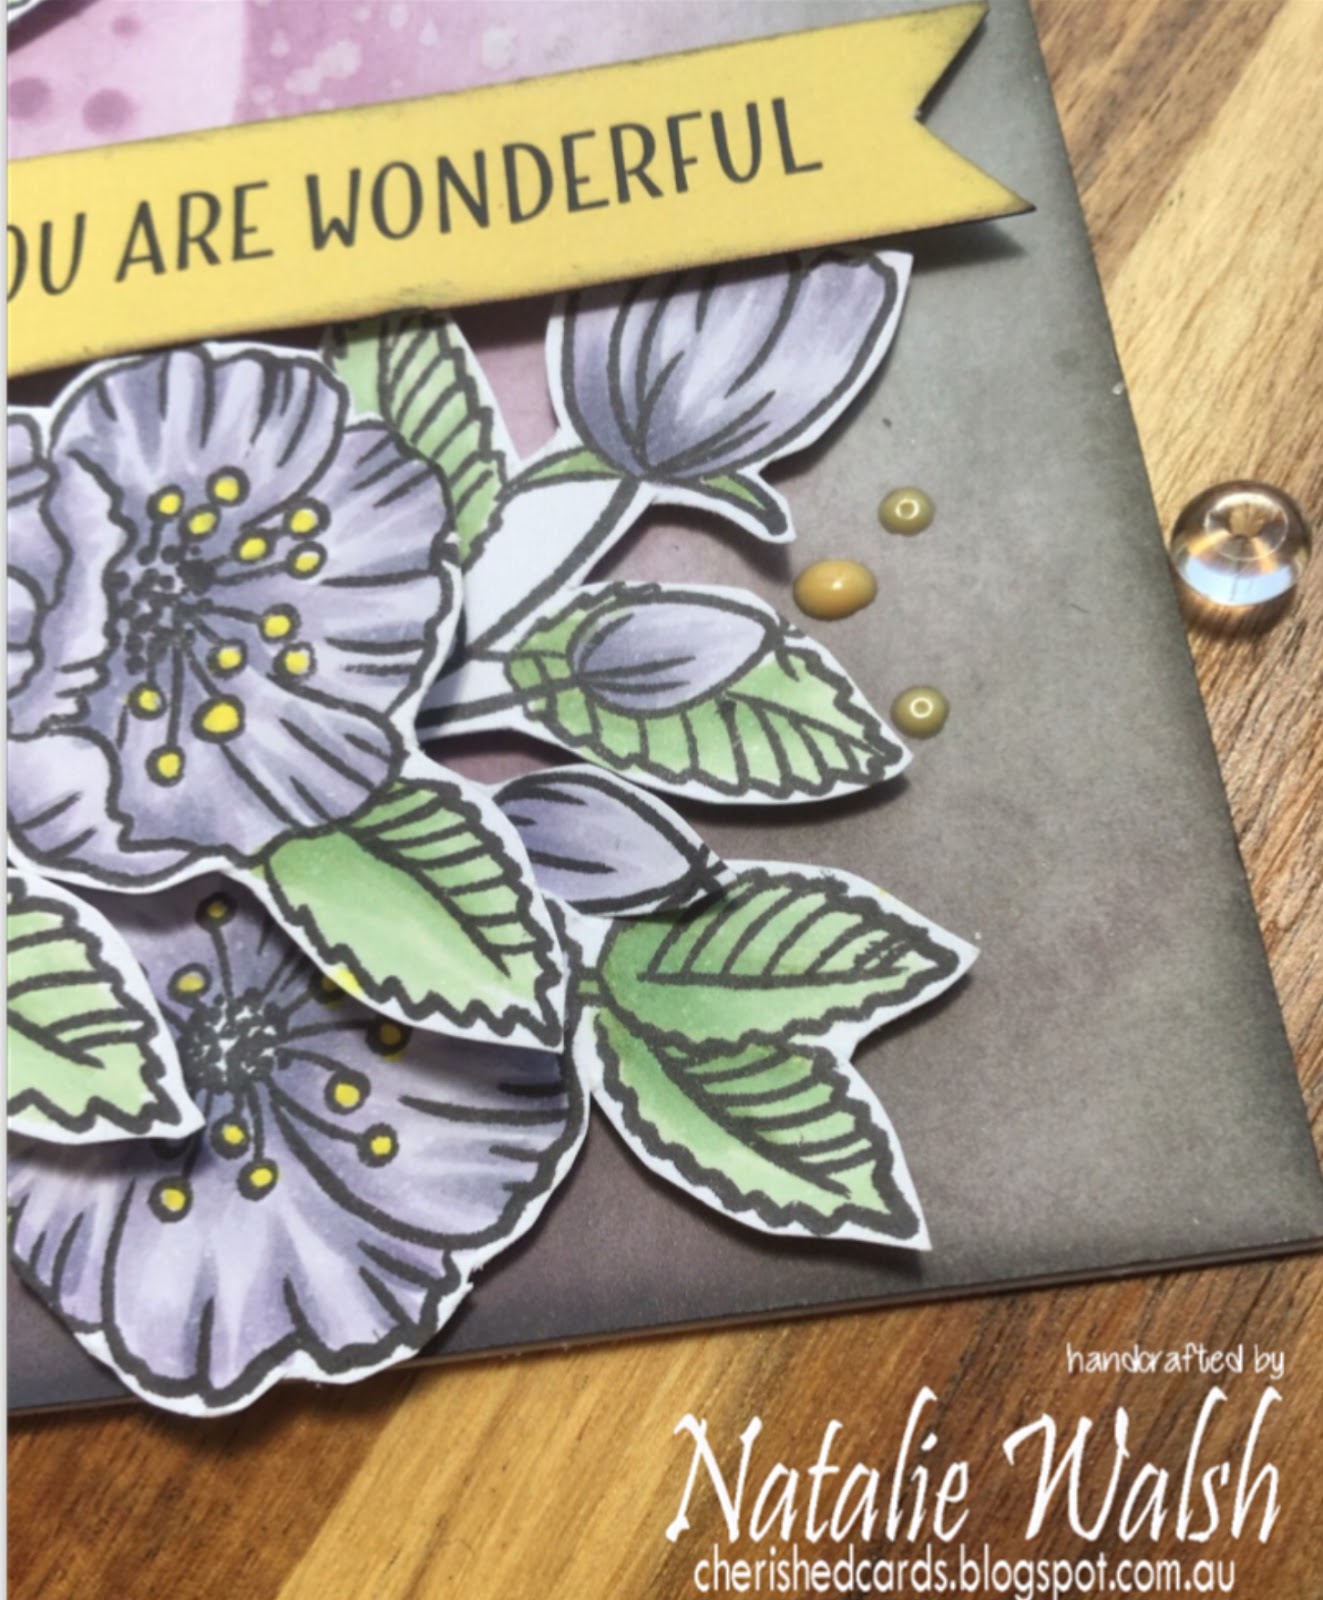
My card today was from September 2019 Uniquely Creative Positivity Mini Kit

As I said I lost footage and was going to redo the card but ran out of time.


Image result for flowing dots stencil 
In the kit they have the Flowing Dots stencil and I used this, first to add the dots and colour on the left of the panel. Once this was done I removed the stencil and, honestly I didn't like it! 
I am a lazy crafter, I don't do over ( hence I ran out of time to redo the card... cause I didn't want to redo a perfectly good card!) 
I used Dusty Concord and then went around the edges with Black Soot. I spritz it with a little bit of water for texture.

Image result for positivity stamp


I stamped out both of the images included in the set, as I wanted to layer it up with foam dots and glue. You do not get the dies in this kit but it is super easy to cut it out. I was also abit sneaky and cut the large unopened flower off the image and tucked it in behind and the image and you have no idea, except that I just told you! Lol

Copics Used:
Flowers V28, 25, 22
Leaves YG63, G24, G21
Flower centre's Y08

The sentiment is included in the kit and you just need to cut out the sentiment you want!

Lastly I added a couple of dots of Nuvo Crystal Drops Sugared Almonds.

Please hop over to  Boryana Yankova and check out her card HERE !


Thank you for stopping by.